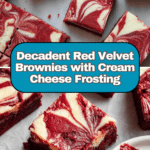
Red Velvet Brownies with Cream Cheese Frosting Recipe
Introduction
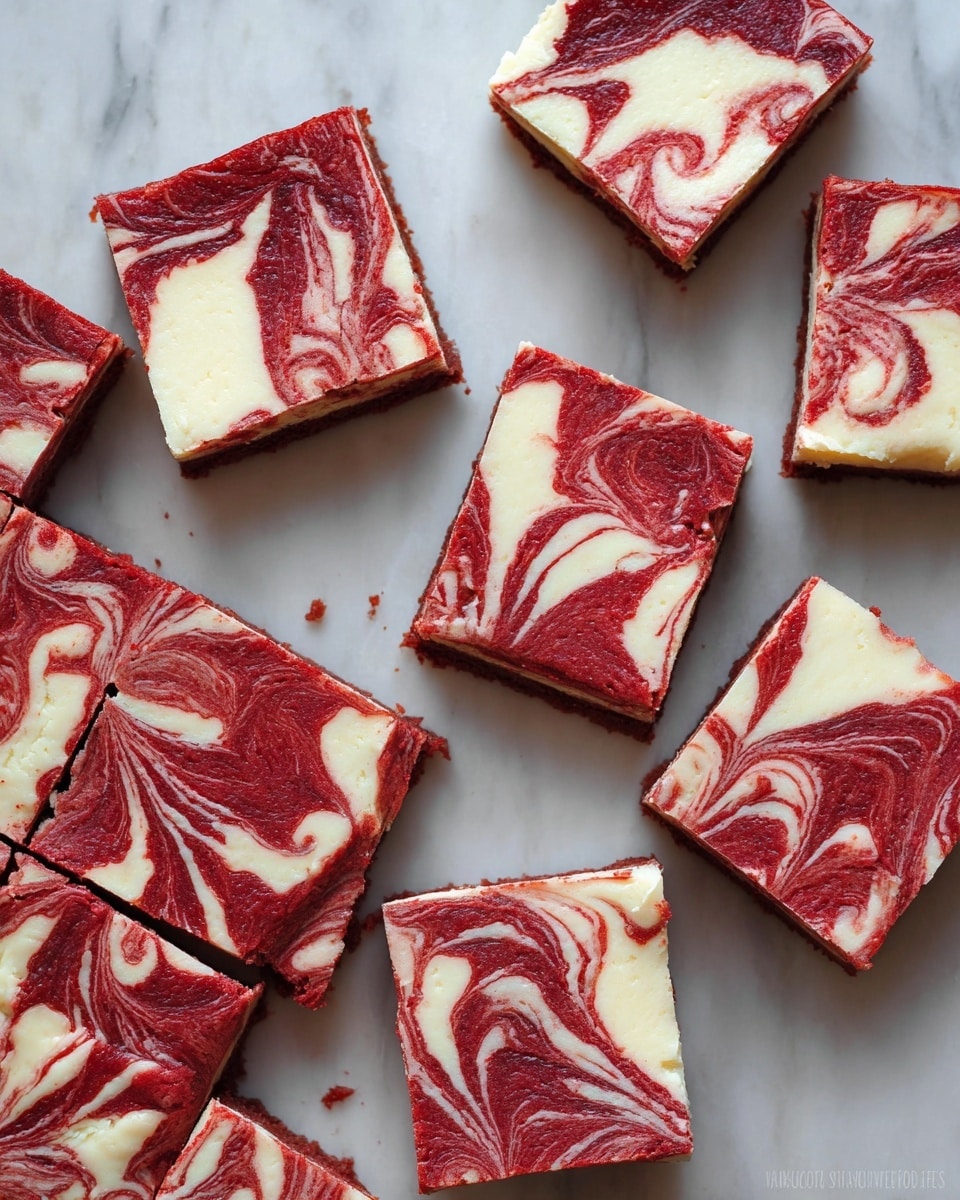
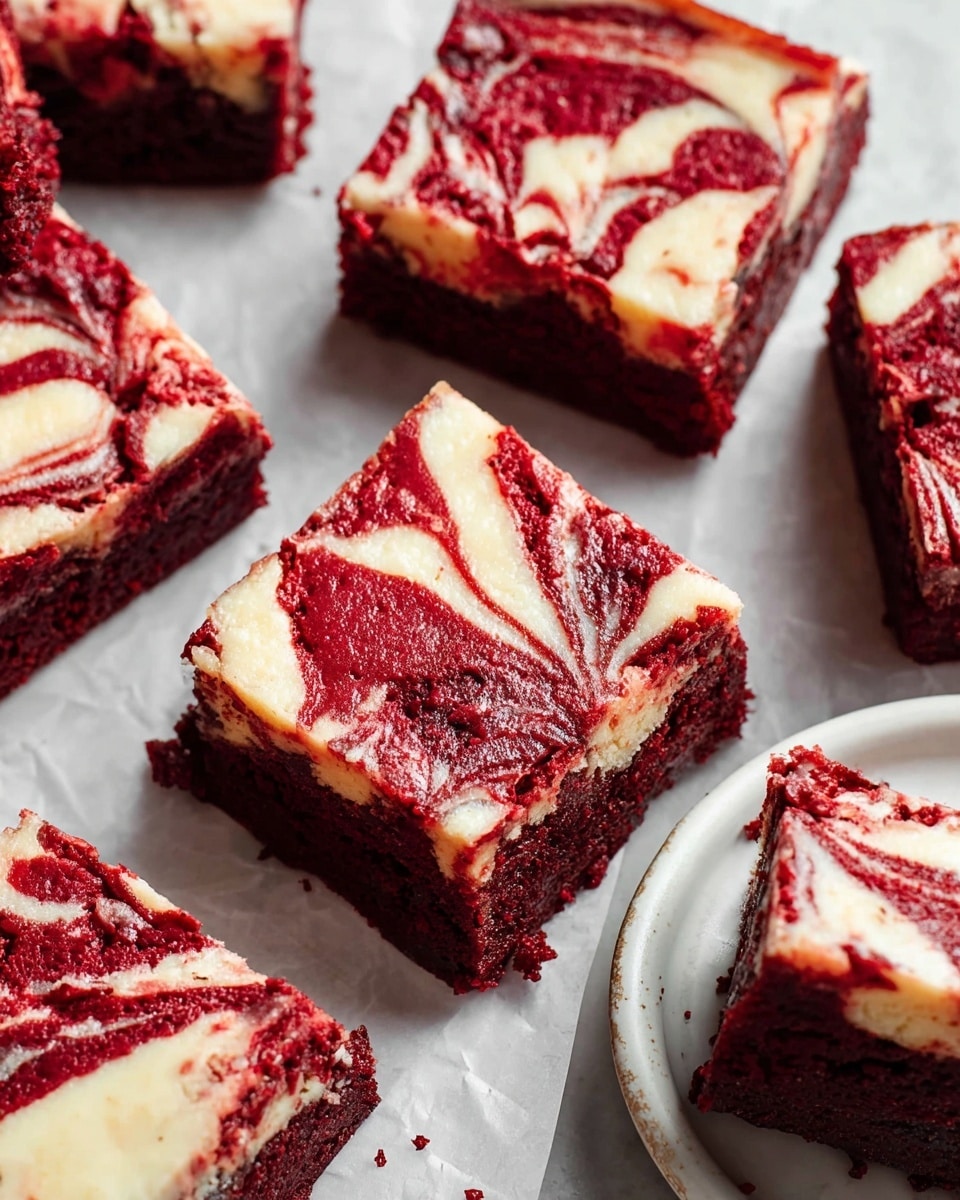
Red velvet brownies combine the best of two beloved desserts: the rich, fudgy texture of a brownie and the vibrant color and subtle tang of red velvet cake. Topped with a smooth cream cheese frosting, these treats are perfect for celebrations or any time you crave something special.
Ingredients
- ¾ cup (158 g) butter, melted (regular or dairy free)
- ¾ cup (150 g) light brown sugar
- 1 cup (200 g) granulated sugar
- 2 eggs
- 1 tbsp vanilla extract
- ½ teaspoon liquid red food coloring
- 1½ teaspoons white vinegar
- ¼ cup (22 g) cocoa powder
- ¼ teaspoon salt
- 1 cup + 3 tbsp (148 g) all-purpose flour
- 4 oz plain cream cheese, room temperature
- ¼ cup (53 g) butter, softened (dairy free or regular)
- ½ teaspoon vanilla extract (for frosting)
- Pinch of salt (for frosting)
- 1½–2 cups (180 g) powdered sugar (icing sugar)
- 2 tablespoons cornstarch (only if dairy free, optional)
Instructions
- Step 1: Preheat the oven to 350°F and line an 8×8 inch square baking pan with parchment paper, leaving some overhang for easy removal.
- Step 2: Melt the butter and transfer it to a medium bowl. Add both sugars and whisk until the mixture becomes a thick paste that pulls away from the bowl’s sides.
- Step 3: Mix in the eggs, white vinegar, vanilla extract, and red food coloring. Adjust the amount of food coloring if a deeper red is desired.
- Step 4: Sift together the cocoa powder, salt, and flour. Add the dry ingredients to the wet mixture and whisk just until combined, about one minute.
- Step 5: Pour the batter into the prepared pan, smoothing the top with a spatula.
- Step 6: Bake for 30 to 40 minutes. Start checking at 30 minutes by inserting a toothpick in the center. The brownies are done when the top is crinkly and the toothpick shows moist crumbs but no wet batter.
- Step 7: While the brownies cool, prepare the cream cheese frosting. Beat together the cream cheese, softened butter, vanilla extract, and a pinch of salt until smooth.
- Step 8: Gradually add powdered sugar until the frosting reaches your desired thickness. If using dairy-free cream cheese, stir in cornstarch to thicken if needed.
- Step 9: Once the brownies have completely cooled, spread the cream cheese frosting evenly on top. Use the parchment paper overhang to lift the brownies out for easy slicing.
Tips & Variations
- Use high-quality cocoa powder for a richer chocolate flavor.
- For a deeper red color, add a bit more liquid red food coloring gradually rather than all at once.
- To make dairy-free brownies, substitute butter and cream cheese with your preferred dairy-free alternatives and add cornstarch to the frosting to help it thicken.
- If you prefer a less sweet frosting, reduce the powdered sugar to taste.
Storage
Store frosted brownies in an airtight container in the refrigerator for up to 5 days. You can also store unfrosted brownies at room temperature for 2–3 days or in the fridge up to a week. To reheat, warm individual brownies briefly in the microwave for 10–15 seconds to soften. Allow frosted brownies to come to room temperature before serving for the best texture.
How to Serve
Serve this delicious recipe with your favorite sides.
FAQs
Can I use gel food coloring instead of liquid?
Yes, gel food coloring works well and usually requires less quantity. Start with a small amount and add more as needed to achieve your desired red hue.
Can I make these brownies gluten free?
Yes, you can substitute the all-purpose flour with a gluten-free flour blend that measures cup-for-cup. Ensure the blend contains xanthan gum for the best texture.
PrintRed Velvet Brownies with Cream Cheese Frosting Recipe
These Red Velvet Brownies combine the rich, fudgy texture of classic brownies with the vibrant color and subtle tang of red velvet cake. Topped with a creamy, luscious cream cheese frosting, these treats are perfect for a special dessert or festive occasion. They are baked to a tender, moist crumb with just the right amount of sweetness and a hint of cocoa.
- Prep Time: 15 minutes
- Cook Time: 35 minutes
- Total Time: 50 minutes
- Yield: 16 brownies (2-inch squares) 1x
- Category: Dessert
- Method: Baking
- Cuisine: American
Ingredients
Red Velvet Brownies
- 3/4 cup (158 g) butter, melted (regular or dairy free)
- 3/4 cup (150 g) light brown sugar
- 1 cup (200 g) granulated sugar
- 2 eggs
- 1 tbsp vanilla extract
- 1/2 teaspoon liquid red food coloring
- 1 1/2 teaspoon white vinegar
- 1/4 cup (22 g) cocoa powder
- 1/4 tsp salt
- 1 cup + 3 tbsp (148 g) all-purpose flour
Cream Cheese Frosting
- 4 oz plain cream cheese, room temperature (can substitute dairy free if needed)
- 1/4 cup (53 g) butter, softened (regular or dairy free)
- 1/2 teaspoon vanilla extract
- Pinch of salt
- 1 1/2 to 2 cups (180 g) powdered sugar (icing sugar)
- 2 Tablespoons cornstarch (optional, only if dairy free frosting)
Instructions
- Preheat and prepare pan: Preheat the oven to 350°F (177°C) and line an 8×8 inch square baking pan with parchment paper, allowing excess to hang over the sides for easy removal.
- Melt butter and mix sugars: Melt the butter in the microwave or on the stove, transfer to a medium bowl, then whisk in the light brown sugar and granulated sugar until the mixture becomes a thick paste that pulls cleanly from the sides.
- Add wet ingredients: Whisk in the eggs, white vinegar, vanilla extract, and liquid red food coloring until smoothly combined; add more food coloring if a deeper red tone is desired.
- Combine dry ingredients: Sift or mix together the cocoa powder, salt, and all-purpose flour, then add them to the wet ingredients. Whisk gently until just combined to avoid overmixing.
- Pour and bake: Pour the brownie batter into the prepared pan and spread evenly using a spatula. Bake in the preheated oven for 30 to 40 minutes, checking at 30 minutes by inserting a toothpick which should come out with moist crumbs but not wet batter. The top should appear slightly crinkly.
- Prepare cream cheese frosting: While brownies bake and cool, beat together the room temperature cream cheese, softened butter, vanilla extract, and a pinch of salt until smooth. Gradually add powdered sugar until the frosting reaches your preferred consistency. For dairy free frosting, stir in cornstarch to thicken if desired.
- Cool and frost: Allow brownies to cool completely in the pan before lifting them out using the parchment overhang. Spread the cream cheese frosting evenly over the top. Store frosted brownies in the refrigerator or keep frosting chilled and frost just before serving.
Notes
- Use a good quality liquid red food coloring for vibrant color; adjust amount depending on brand and desired intensity.
- For dairy free brownies and frosting, substitute butter and cream cheese with vegan options and add cornstarch to help thicken the frosting.
- Do not overbake brownies to maintain a soft, fudgy texture; moist crumbs on a toothpick test are perfect.
- Line the pan with parchment paper extending beyond edges for easy removal and clean slicing.
- If you prefer stronger cocoa flavor, use Dutch-processed cocoa powder.
Keywords: Red Velvet Brownies, Cream Cheese Frosting, Fudgy Brownies, Red Velvet Dessert, Baked Brownies