No Bake Peppermint Cheesecake Recipe
Introduction
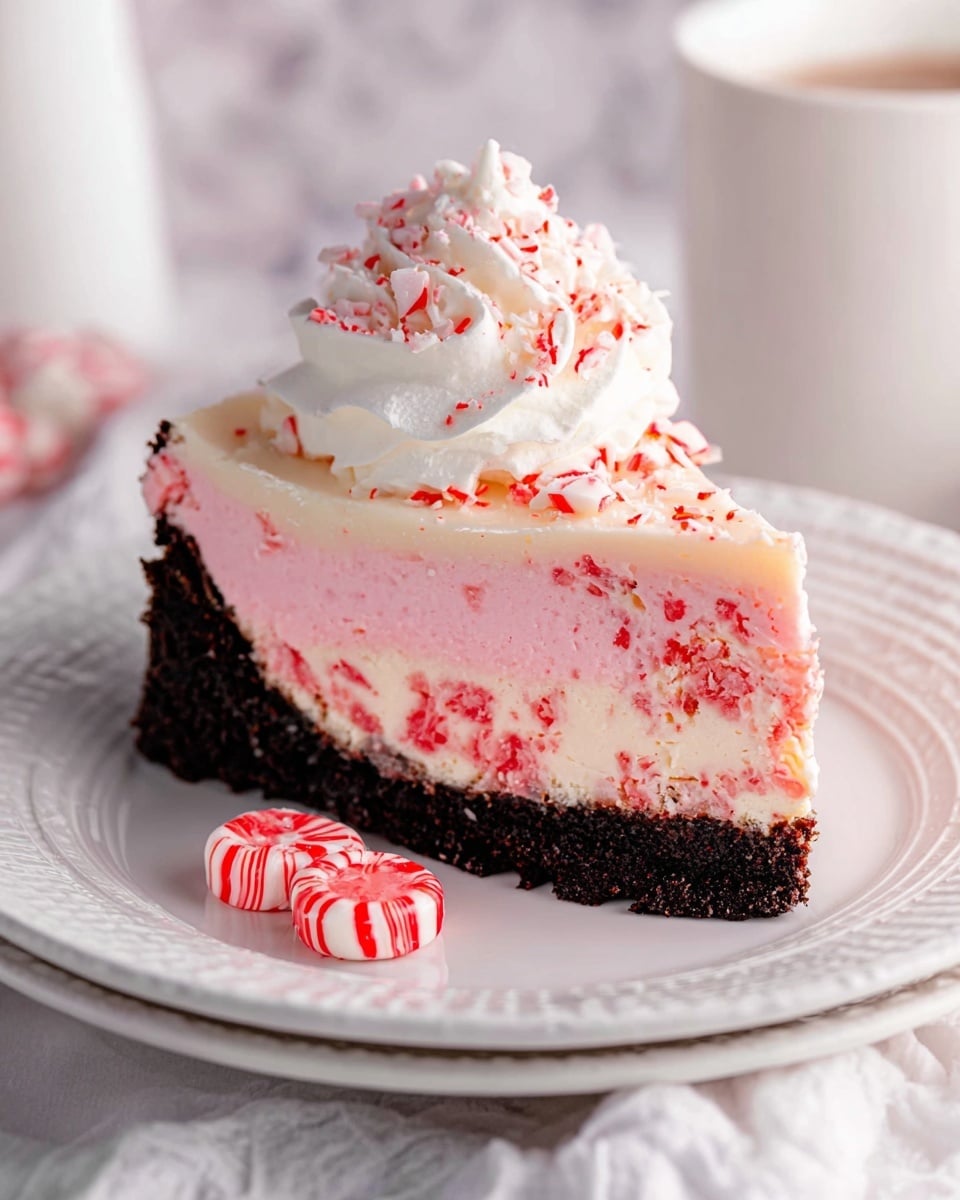
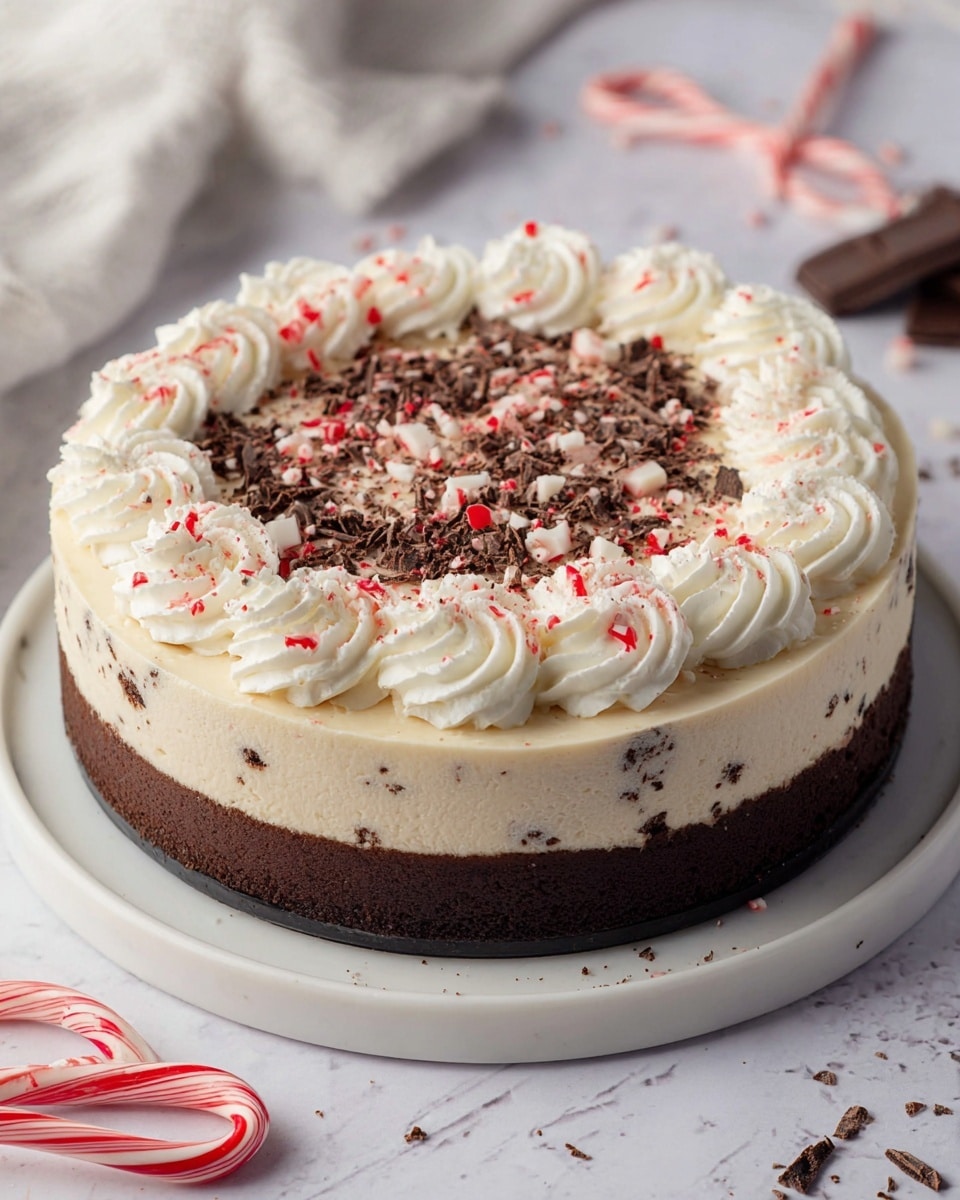
This No Bake Peppermint Cheesecake is a refreshing and creamy dessert perfect for the holidays or any time you crave a cool, minty treat. With a crunchy Oreo crust and festive peppermint chips, it’s simple to make and doesn’t require turning on the oven.
Ingredients
- 3 cups Oreo cookie crumbs (30 cream-filled cookies)
- 1/2 cup unsalted butter, melted
- 2 – 8 ounce packages cream cheese, softened
- 1/4 cup granulated sugar
- 1 teaspoon vanilla extract
- 1/2 teaspoon peppermint extract
- 2 cups Andes Peppermint Crunch Chips, divided
- 2 teaspoons shortening
- 2 – 8 ounce containers Cool Whip, thawed
Instructions
- Step 1: Combine the Oreo cookie crumbs and melted butter. Press the mixture firmly into the bottom of a 9×13 baking dish. Place in the refrigerator while preparing the filling.
- Step 2: Beat the cream cheese, sugar, vanilla extract, and peppermint extract together until smooth and creamy.
- Step 3: In a microwave-safe bowl, combine 1 cup of Andes Peppermint Crunch Chips with the shortening. Heat for 30 seconds, stir, then heat for an additional 20-30 seconds until melted and creamy.
- Step 4: Pour the melted peppermint chips into the cream cheese mixture and beat immediately until fully incorporated.
- Step 5: Gently fold in 8 ounces of Cool Whip until thoroughly mixed. Spread this cheesecake filling evenly over the prepared crust.
- Step 6: Spread the remaining container of Cool Whip evenly over the top of the cheesecake layer. Sprinkle the remaining Andes Peppermint Crunch Chips over the surface.
- Step 7: Refrigerate the cheesecake for 1-2 hours to allow it to set. Cut into 24 squares before serving.
Tips & Variations
- For a more intense peppermint flavor, you can add an extra 1/4 teaspoon of peppermint extract to the filling.
- Try crushed candy canes sprinkled on top instead of Andes Peppermint Chips for a crunchy texture.
- If you prefer a chocolate crust, substitute Oreo crumbs with chocolate graham cracker crumbs.
Storage
Store leftover cheesecake in an airtight container in the refrigerator for up to 3 days. To enjoy, serve chilled or let sit at room temperature for 10 minutes before eating. Avoid freezing as it can affect the texture.
How to Serve
Serve this delicious recipe with your favorite sides.
FAQs
Can I use regular chocolate chips instead of Andes Peppermint Chips?
Yes, you can substitute regular chocolate chips, but you will lose the peppermint flavor that makes this cheesecake special. Adding a bit more peppermint extract can help maintain the minty taste.
Do I have to use Cool Whip or can I use whipped cream instead?
You can use homemade whipped cream as a substitute, but Cool Whip helps stabilize the cheesecake and maintain its texture. If using whipped cream, fold it in gently and serve soon after chilling.
PrintNo Bake Peppermint Cheesecake Recipe

This No Bake Peppermint Cheesecake is a creamy and refreshing dessert perfect for the holidays or any special occasion. Featuring a crunchy Oreo cookie crust, a smooth peppermint-infused cream cheese filling, and topped with whipped topping and peppermint crunch chips, this cheesecake requires no baking and sets quickly in the refrigerator.
- Prep Time: 20 minutes
- Cook Time: 0 minutes
- Total Time: 2 hours 20 minutes
- Yield: 24 servings 1x
- Category: Dessert
- Method: No-Cook
- Cuisine: American
- Diet: Vegetarian
Ingredients
Crust
- 3 cups Oreo cookie crumbs (from 30 cream filled cookies)
- 1/2 cup unsalted butter, melted
Filling
- 2 – 8 ounce packages cream cheese, softened
- 1/4 cup granulated sugar
- 1 teaspoon vanilla extract
- 1/2 teaspoon peppermint extract
- 2 cups Andes Peppermint Crunch Chips, divided
- 2 teaspoons shortening
- 2 – 8 ounce containers Cool Whip, thawed
Instructions
- Prepare the crust: Combine the Oreo cookie crumbs and melted butter in a bowl, mixing thoroughly. Press the mixture firmly into the bottom of a 9×13-inch baking dish to form an even crust. Place in the refrigerator to chill while you prepare the filling.
- Make the cream cheese mixture: In a mixing bowl, beat together the softened cream cheese, granulated sugar, vanilla extract, and peppermint extract until the mixture is smooth and creamy.
- Melt the peppermint chips: Place 1 cup of Andes Peppermint Crunch Chips and the shortening into a microwave-safe bowl. Heat in the microwave for 30 seconds, then stir. Heat for an additional 20 to 30 seconds, stirring until the chips are completely melted and creamy.
- Combine melted chips with cream cheese: Pour the melted peppermint chips mixture into the cream cheese mixture and beat immediately until fully combined and smooth.
- Fold in whipped topping: Gently fold 8 ounces (about half) of the Cool Whip into the cream cheese and peppermint mixture until evenly mixed. Then, spoon this cheesecake filling evenly over the chilled Oreo crust.
- Add topping layer: Spread the remaining Cool Whip evenly over the top of the cheesecake layer. Sprinkle the remaining Andes Peppermint Crunch Chips on top as garnish.
- Chill and serve: Refrigerate the assembled cheesecake for 1 to 2 hours to allow it to set properly. Once set, cut into 24 squares and keep refrigerated in a sealed container until ready to serve.
Notes
- Ensure the cream cheese is softened to room temperature to achieve a smooth filling.
- If you prefer a stronger peppermint flavor, you can increase the peppermint extract slightly, but use sparingly to avoid overpowering the dessert.
- For easier slicing, chill the cheesecake overnight.
- Can be stored in the refrigerator for up to 4 days in an airtight container.
- Use gluten-free Oreo cookies if you require a gluten-free version.
- Shortening helps to melt the peppermint chips smoothly; do not substitute with butter as it may alter texture.
Keywords: No bake peppermint cheesecake, peppermint dessert, Oreo crust cheesecake, holiday dessert, easy cheesecake recipe