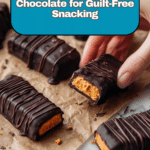
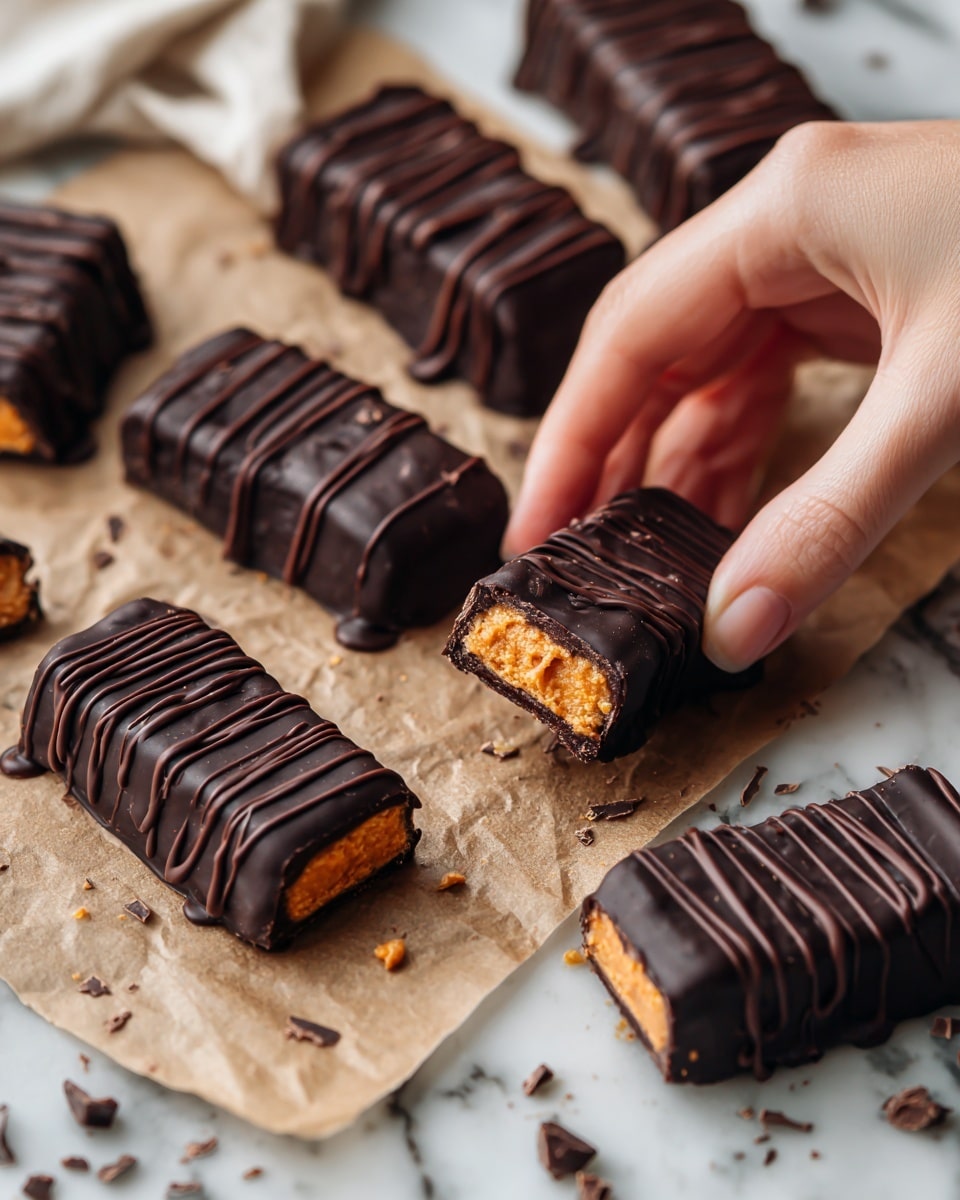
Healthy Homemade Butterfingers Recipe
Introduction
Enjoy a healthier twist on a classic candy bar with these Homemade Butterfingers. They combine crunchy cornflakes and creamy peanut butter, coated in rich chocolate for a satisfying treat that’s easy to make at home.
Ingredients
- 1 cup peanut butter
- 1/3 cup honey
- 1/2 tsp vanilla extract
- 1/2 tsp sea salt
- 1 + 3/4 cup cornflake cereal
- 1 cup chocolate chips (dairy free, if needed)
- 1 tsp coconut oil
Instructions
- Step 1: In a saucepan over medium-low heat, gently heat the peanut butter, honey, vanilla extract, and sea salt for 2 to 4 minutes until the mixture is smooth and warmed through.
- Step 2: Transfer the peanut butter mixture to a large mixing bowl and add the cornflake cereal. Stir well, crushing the cereal slightly to help it get fully coated.
- Step 3: Shape the mixture into 12 to 14 small logs. Place them on a parchment-lined plate or baking sheet and freeze for 1 hour.
- Step 4: Melt the chocolate chips and coconut oil together in the microwave or on the stove, being careful not to burn the chocolate.
- Step 5: Dip each frozen log into the melted chocolate, letting excess chocolate drip off. Return the coated logs to the parchment-lined plate and freeze again for about 10 minutes until the chocolate sets.
- Step 6: Store the finished butterfingers in the refrigerator or freezer until ready to enjoy.
Tips & Variations
- For extra crunch, toast the cornflakes lightly before mixing.
- Use natural peanut butter with no added sugar for a cleaner flavor.
- Try white or dark chocolate instead of regular milk chocolate for different taste profiles.
- Add a pinch of cinnamon to the peanut butter mixture for a subtle spice twist.
Storage
Keep your butterfingers stored in an airtight container in the refrigerator for up to 2 weeks or in the freezer for up to 2 months. When ready to eat, thaw in the fridge for about 10 minutes if frozen. This keeps the chocolate coating firm but easy to bite into.
How to Serve
Serve this delicious recipe with your favorite sides.
FAQs
Can I use a different nut butter?
Yes, almond butter or cashew butter can be used as alternatives, but the flavor and texture will vary slightly from classic peanut butter.
How do I prevent the chocolate from melting too fast when dipping?
Work quickly and keep the butterfingers frozen until just before dipping. Using coconut oil helps the chocolate set faster and gives a smooth coating.
PrintHealthy Homemade Butterfingers Recipe

This Healthy Homemade Butterfingers recipe creates delicious, crunchy, and naturally sweetened peanut butter bars coated in rich chocolate. Using simple wholesome ingredients like peanut butter, honey, and cornflake cereal, these treats are perfect for a guilt-free snack or dessert that everyone will love.
- Prep Time: 15 minutes
- Cook Time: 5 minutes
- Total Time: 1 hour 20 minutes
- Yield: 12 servings 1x
- Category: Snack
- Method: Stovetop
- Cuisine: American
- Diet: Gluten Free
Ingredients
Main Ingredients
- 1 cup peanut butter
- 1/3 cup honey
- 1/2 tsp vanilla extract
- 1/2 tsp sea salt
- 1 3/4 cup cornflake cereal
Chocolate Coating
- 1 cup chocolate chips (dairy free, if needed)
- 1 tsp coconut oil
Instructions
- Heat peanut butter mixture: In a saucepan set over medium-low heat, combine the peanut butter, honey, vanilla extract, and sea salt. Warm gently for 2-4 minutes, stirring frequently until the mixture is smooth and heated through.
- Combine with cereal: Pour the warm peanut butter mixture into a large mixing bowl with the cornflake cereal. Stir thoroughly, crushing the cereal slightly as you mix to make sure every piece is well coated with the peanut butter blend.
- Form logs and freeze: Using your hands, form the coated cereal mixture into 12 to 14 log shapes. Place each log onto a parchment-lined plate or baking sheet, then transfer to the freezer. Let them freeze for 1 hour to set.
- Melt chocolate coating: When ready, melt the chocolate chips and coconut oil together either in the microwave in short bursts or on the stove over low heat. Stir frequently to avoid scorching the chocolate.
- Dip and set the butterfingers: Remove the frozen logs from the freezer and individually dip each butterfinger into the melted chocolate, allowing excess chocolate to drip off. Place them back on the lined plate and return to the freezer for about 10 minutes until the chocolate hardens. Store finished butterfingers in the refrigerator or freezer to keep fresh.
Notes
- Use dairy-free chocolate chips if you need a vegan or dairy-free option.
- Crushing the cereal slightly helps it bind better with the peanut butter mixture.
- Ensure the chocolate is not overheated to prevent it from burning and becoming grainy.
- Storing butterfingers in the freezer will keep them longer and maintain their crunch.
Keywords: Healthy Butterfinger recipe, homemade candy bars, peanut butter snacks, no bake dessert, gluten free snack