Creamy No-Bake Biscoff Cheesecake with Crunchy Cookie Crust Recipe
Introduction
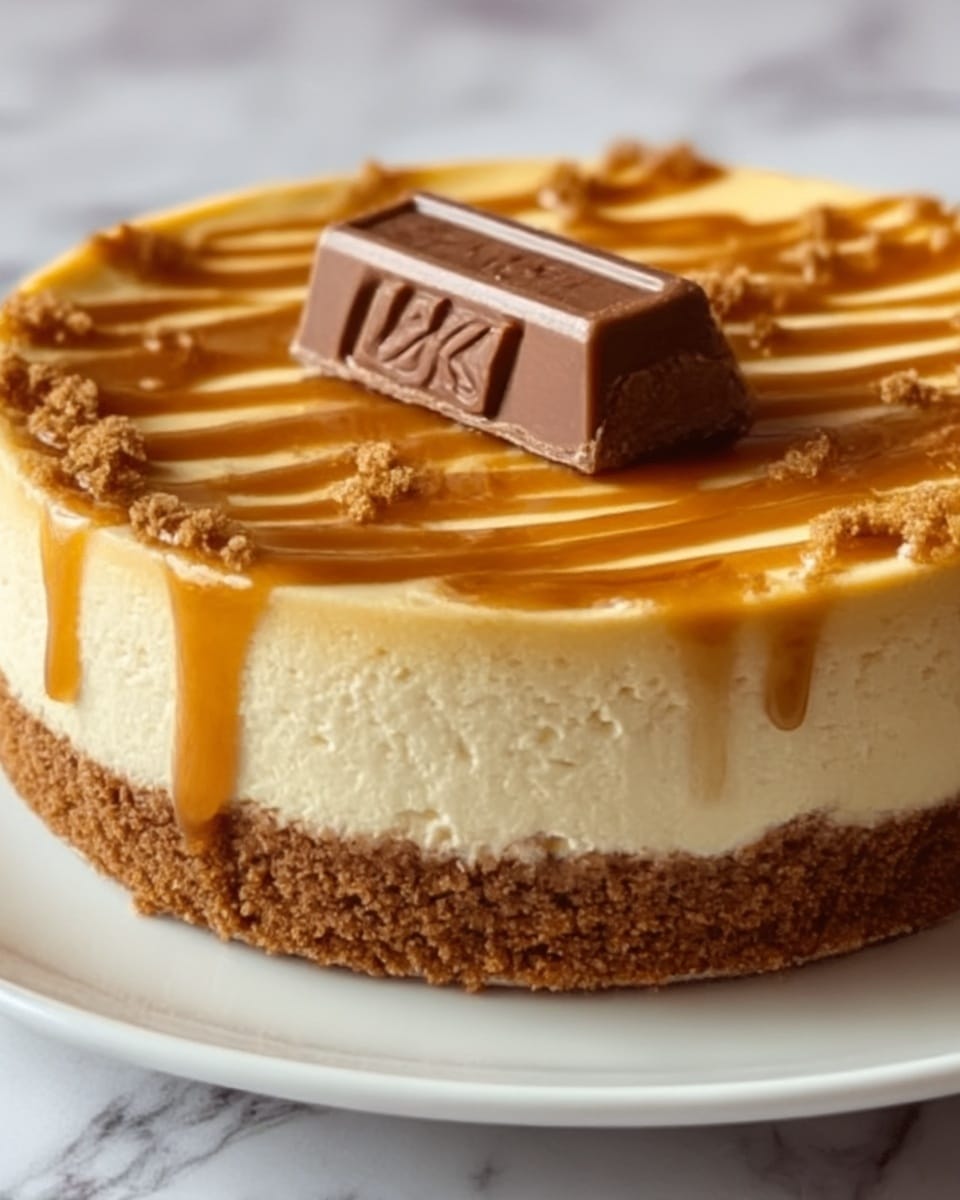
This creamy no bake Biscoff cheesecake features a crunchy cookie crust and a silky smooth filling infused with the beloved Biscoff flavor. It’s an easy, elegant dessert perfect for any occasion, requiring no oven and minimal effort.
Ingredients
- 200g (7oz) Biscoff cookies
- 6 tbsp (85g) unsalted butter, melted
- 16 oz (450g) cream cheese, softened
- 1 cup (250g) Biscoff spread
- 1 cup (240ml) heavy cream, cold
- 3/4 cup (90g) powdered sugar
- 1 tsp vanilla extract
Instructions
- Step 1: Crush the Biscoff cookies into fine crumbs using a rolling pin inside a ziplock bag.
- Step 2: Mix the cookie crumbs with the melted unsalted butter until the mixture resembles wet sand.
- Step 3: Press the crust mixture firmly into the bottom of a 9-inch springform pan and refrigerate while preparing the filling.
- Step 4: Beat the softened cream cheese until smooth and creamy, about 2 minutes.
- Step 5: Add the Biscoff spread and powdered sugar to the cream cheese and mix until silky smooth.
- Step 6: In a separate bowl, whip the cold heavy cream with vanilla extract to soft peaks.
- Step 7: Gently fold the whipped cream into the cream cheese mixture slowly to keep it light and fluffy.
- Step 8: Pour the filling over the chilled cookie crust and smooth the top with a spatula.
- Step 9: Cover with plastic wrap and refrigerate for at least 4 hours or overnight for best results.
- Step 10: Before serving, run a warm knife around the edges, unlock the springform pan, slice, and optionally drizzle extra Biscoff spread or garnish with crushed cookies.
Tips & Variations
- For an extra crunchy crust, try adding a handful of chopped nuts or crushed biscuits mixed with the cookie crumbs.
- If you prefer a lighter flavor, reduce the amount of Biscoff spread slightly and balance with extra whipped cream.
- Use a hand mixer or stand mixer to whip the cream for best results and consistent texture.
Storage
Store the cheesecake covered in the refrigerator for up to 3 days. To serve, let it sit at room temperature for 10–15 minutes for easier slicing. This cheesecake is not recommended for freezing as the texture may change.
How to Serve
Serve this delicious recipe with your favorite sides.
FAQs
Can I use regular peanut butter instead of Biscoff spread?
You can substitute peanut butter, but it will change the flavor profile significantly. For the authentic Biscoff taste, it’s best to use the Biscoff spread.
Do I need a springform pan for this recipe?
A springform pan is ideal to easily release the cheesecake without damaging the crust or filling, but you could use a regular cake pan lined with parchment paper, keeping in mind it might be harder to remove cleanly.
PrintCreamy No-Bake Biscoff Cheesecake with Crunchy Cookie Crust Recipe

A luscious and creamy no-bake Biscoff cheesecake featuring a crunchy cookie crust made from crushed Biscoff cookies and a velvety filling of cream cheese and Biscoff spread. This indulgent dessert requires no oven and is perfect for a quick yet impressive finish to any meal, with a smooth, rich texture and delightful caramelized spice flavors from the Biscoff.
- Prep Time: 20 minutes
- Cook Time: 0 minutes
- Total Time: 4 hours 20 minutes
- Yield: 8 servings 1x
- Category: Dessert
- Method: No-Cook
- Cuisine: American
Ingredients
For the Crust
- 200g (7oz) Biscoff cookies
- 6 tbsp (85g) unsalted butter, melted
For the Filling
- 16 oz (450g) cream cheese, softened
- 1 cup (250g) Biscoff spread
- 1 cup (240ml) heavy cream, cold
- 3/4 cup (90g) powdered sugar
- 1 tsp vanilla extract
Instructions
- Prepare the crust: Crush 200g (7oz) Biscoff cookies into fine crumbs using a rolling pin inside a ziplock bag to ensure an even and fine texture for the crust.
- Mix with butter: Combine the cookie crumbs with 6 tablespoons (85g) of melted unsalted butter until the mixture has a wet sand-like consistency, which helps the crust hold together firmly.
- Form the crust: Press the mixture firmly into the bottom of a 9-inch springform pan to create an even base, then refrigerate it while you prepare the filling to allow it to set and become firm.
- Beat cream cheese: Beat 16 ounces (450g) of softened cream cheese until smooth and creamy, which should take approximately 2 minutes to remove lumps and ensure a silky texture.
- Add Biscoff spread and sugar: Incorporate 1 cup (250g) of Biscoff spread and 3/4 cup (90g) of powdered sugar into the cream cheese and mix until the filling is silky smooth, blending the rich flavors evenly.
- Whip cream: In a separate bowl, whip 1 cup (240ml) of cold heavy cream with 1 teaspoon of vanilla extract to soft peaks, which will add lightness and fluffiness to the cheesecake.
- Fold whipped cream: Gently fold the whipped cream into the cream cheese mixture slowly, maintaining the airy texture and ensuring the filling remains light and fluffy.
- Assemble cheesecake: Pour the light filling over the chilled cookie crust and smooth the top evenly with a spatula for a neat finish.
- Chill: Cover the cheesecake with plastic wrap and refrigerate for at least 4 hours or preferably overnight to allow the cheesecake to firm up and develop its flavor fully.
- Serve: Before serving, run a warm knife around the edges to loosen, unlock the springform pan, slice, and optionally drizzle extra Biscoff spread or garnish with crushed cookies for added texture and visual appeal.
Notes
- Use a cold bowl and beaters to whip the cream efficiently.
- For a firmer crust, chill it longer before adding the filling.
- Refrigerate the finished cheesecake overnight for the best texture and flavor.
- Use a warm knife to get clean slices when serving.
- This cheesecake is best consumed within 3 days stored in the refrigerator.
Keywords: Biscoff cheesecake, no-bake cheesecake, Biscoff cookie crust, creamy cheesecake, easy cheesecake recipe, no bake dessert