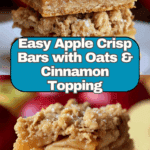
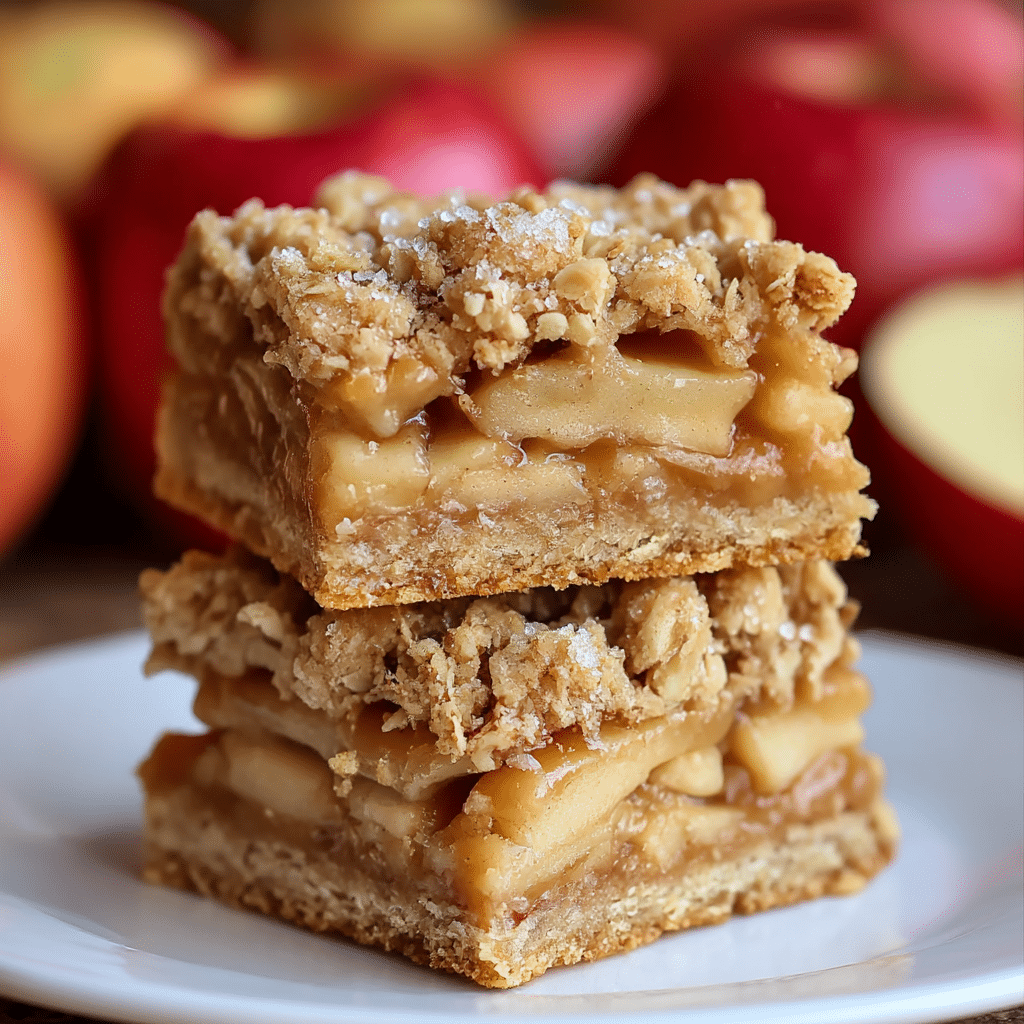
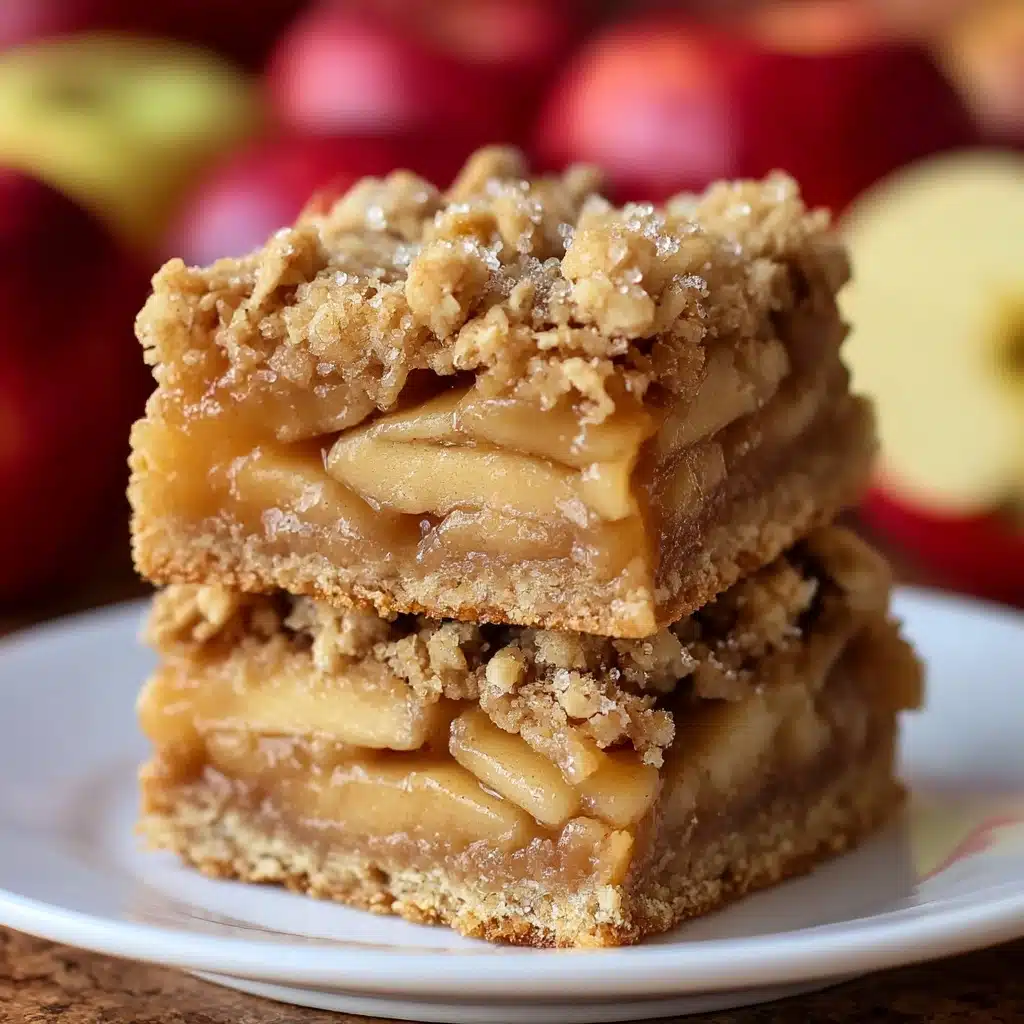
Easy Apple Crisp Bars Recipe
If you’ve been searching for a dessert that hits all the right notes—sweet, buttery, and packed with cozy autumn flavors—you’re going to adore these Easy Apple Crisp Bars. They bring together tender, cinnamon-kissed apples nestled in a crisp, oat-studded crust with a perfectly crumbly topping that feels like a warm hug. These bars are a breeze to make, delightfully portable, and an irresistible way to celebrate the season’s best fruit any time you crave something sweet and comforting.
Ingredients You’ll Need
Gathering simple, pantry-friendly ingredients is the real magic here—each one playing a crucial role in building the layers of flavor and textures that make these bars so special.
- All-purpose flour: The foundation of the crust and topping, providing structure and tender crumb.
- Old-fashioned oats: Add a hearty texture that perfectly balances the softness of the apples.
- Brown sugar: Offers rich sweetness and a slight molasses warmth to both crust and topping.
- Baking powder: Ensures the crust has a gentle lift and lightness.
- Ground cinnamon: Brings that classic apple spice, warming every bite.
- Salt: Enhances all the flavors and balances the sweetness.
- Unsalted butter: Cold and cubed for the crust—this creates the delicate, flaky texture you want.
- Pealed and thinly sliced apples: The star of the show, tender and flavorful.
- Granulated sugar: Sweetens the apple filling just enough without overwhelming.
- Vanilla extract: Lifts the fruit with a subtle fragrant hint.
- Softened butter (for topping): Binds the topping ingredients for that melt-in-your-mouth crumb.
How to Make Easy Apple Crisp Bars
Step 1: Preheat and Prepare Your Pan
Start by heating your oven to 350°F (175°C). Line a 9×9 inch baking pan with parchment paper to make lifting out your bars a breeze later on. This small prep step saves you from stickiness and ensures clean, neat slices.
Step 2: Create the Crust
In a large bowl, combine the flour, oats, brown sugar, baking powder, cinnamon, and salt. Then, cut in the cold, cubed butter using a pastry cutter or your fingers until the mixture looks coarse and crumbly. This crust is your base layer, so press half of this mix firmly into the pan—this creates a sturdy yet tender foundation for the juicy apple filling.
Step 3: Prepare the Apple Filling
Toss the thinly sliced apples gently with the granulated sugar and vanilla extract. This simple mix coats the apples evenly, letting their natural sweetness shine without overpowering. Spread the apples in an even layer over your pressed crust, making sure every bite has that juicy fruit goodness.
Step 4: Add the Crumb Layer
Sprinkle the remaining oat and flour mixture over the apples. This crumb layer will start building that irresistible texture contrast: soft, tender apples under a crisp, crunchy top.
Step 5: Make and Add the Topping
Combine flour, brown sugar, and softened butter in a small bowl, mixing until crumbly but cohesive. Scatter this crumbly topping evenly over the crumb layer to add a golden, buttery finish to your bars once baked.
Step 6: Bake Until Golden
Slide your pan into the oven and bake for 45 to 50 minutes. Keep an eye out for a golden brown topping and tender, bubbling apples below. The aroma filling your kitchen at this stage is pure comfort!
Step 7: Cool, Slice, and Enjoy
Let the bars cool completely in the pan on a wire rack—this step is crucial for clean cutting. Using the parchment paper, lift the entire slab out, then slice into bars and get ready to fall in love.
How to Serve Easy Apple Crisp Bars
Garnishes
A scoop of vanilla ice cream or a dollop of freshly whipped cream takes these bars from delicious to decadent. For a fun twist, sprinkle a few chopped toasted walnuts or a pinch of extra cinnamon right before serving.
Side Dishes
Serve these bars alongside a steaming mug of cinnamon-spiced tea, hot apple cider, or your favorite coffee for a cozy afternoon treat. They also work beautifully as a sweet finish to a hearty fall dinner.
Creative Ways to Present
Turn your Easy Apple Crisp Bars into a stunning dessert platter by adding fresh apple slices, a drizzle of caramel sauce, or even some crunchy granola on the side for textural contrast. They also make wonderful portable snacks for picnics and gatherings!
Make Ahead and Storage
Storing Leftovers
Keep any leftover bars in an airtight container at room temperature for up to three days, or refrigerate for up to a week to retain freshness and flavor. They stay moist and delicious, making for easy grab-and-go treats.
Freezing
These bars freeze beautifully! Wrap them tightly in plastic wrap and place in a freezer-safe container or bag. They will last up to three months; just thaw overnight in the fridge before serving.
Reheating
To enjoy bars warm, reheat them in the oven at 325°F (160°C) for about 10 minutes or until warmed through. You can also microwave individual bars for 20-30 seconds, but the oven method helps keep the topping crispy.
FAQs
Can I use different types of apples for this recipe?
Absolutely! Firm varieties like Granny Smith, Honeycrisp, or Fuji work best because they hold their shape well during baking and give a nice balance of tartness and sweetness.
Is it possible to make this recipe gluten-free?
Yes, you can substitute the all-purpose flour with a gluten-free flour blend and make sure your oats are certified gluten-free. This swap retains the delightful texture with a little nutritious twist.
Can I add nuts to the filling or topping?
Definitely! Chopped walnuts, pecans, or almonds add a lovely crunch and nutty flavor that pairs beautifully with the sweetness of the apples and the oat crumble.
How thick should I slice the apples?
Thin slices, about 1/8 inch thick, allow the apples to cook evenly and become tender while still holding their shape—not too mushy, not too firm.
Can I substitute butter with a dairy-free alternative?
Yes, plant-based butter or margarine works well in both the crust and topping, keeping the bars moist and flavorful for those avoiding dairy.
Final Thoughts
Once you try these Easy Apple Crisp Bars, they’ll quickly become your go-to dessert for cozy nights and special occasions alike. Simple ingredients come together to create something truly comforting and delightful—perfect for sharing or savoring solo. So grab those apples and get baking; your new favorite treat awaits!
PrintEasy Apple Crisp Bars Recipe

Easy Apple Crisp Bars are a delightful fall dessert featuring a buttery oat crust topped with tender, cinnamon-spiced apples and a sweet crumbly topping. Perfect for holiday gatherings or cozy autumn afternoons, these bars combine the comforting flavors of apple crisp into an easy-to-cut bar form, making them simple to serve and enjoy.
- Prep Time: 20 minutes
- Cook Time: 50 minutes
- Total Time: 1 hour 10 minutes
- Yield: 16 bars 1x
- Category: Dessert
- Method: Baking
- Cuisine: American
- Diet: Vegetarian
Ingredients
Crust and Crumb:
- 1 1/2 cups all-purpose flour
- 1 cup old-fashioned oats
- 1/2 cup packed brown sugar
- 1 teaspoon baking powder
- 1/2 teaspoon ground cinnamon
- 1/4 teaspoon salt
- 3/4 cup unsalted butter, cold and cubed
Apple Filling:
- 3 cups peeled and thinly sliced apples
- 2 tablespoons granulated sugar
- 1 teaspoon vanilla extract
Topping:
- 1/2 cup all-purpose flour
- 1/2 cup packed brown sugar
- 1/4 cup unsalted butter, softened
Instructions
- Preheat Oven and Prepare Pan: Heat your oven to 350°F (175°C). Line a 9×9 inch baking pan with parchment paper for easy removal of the bars after baking.
- Make the Crust: In a large bowl, combine flour, oats, brown sugar, baking powder, cinnamon, and salt. Cut in the cold cubed butter using a pastry cutter or fingers until the mixture becomes coarse and crumbly. Press half of this mixture firmly into the bottom of the prepared pan to form the crust.
- Prepare Apple Filling: In a separate bowl, toss the peeled and thinly sliced apples with granulated sugar and vanilla extract until evenly coated. Spread this apple mixture evenly over the crust layer in the pan.
- Add Crumb Layer: Sprinkle the remaining oat mixture evenly over the layer of apples, covering them completely.
- Prepare and Add Topping: In a small bowl, mix together the flour, brown sugar, and softened butter until crumbly. Sprinkle this crumbly topping evenly over the oat crumb layer.
- Bake: Place the baking pan in the preheated oven and bake for 45-50 minutes. The bars are done when the topping is golden brown and the apples are tender when tested with a fork.
- Cool and Serve: Remove the pan from the oven and let the bars cool completely on a wire rack. Use the parchment paper to lift the bars out of the pan, cut into squares, and serve.
Notes
- For best results, use tart apple varieties like Granny Smith or Honeycrisp for a balanced sweetness and texture.
- Be sure to cool the bars completely before cutting to ensure clean slices.
- Store leftover bars in an airtight container at room temperature for up to 3 days or refrigerate for up to a week.
- You can add a pinch of nutmeg to the apple filling for an extra layer of warm spice.
- If you prefer a gluten-free version, substitute all-purpose flour with a gluten-free flour blend.
Nutrition
- Serving Size: 1 bar (1/16 of recipe)
- Calories: 240
- Sugar: 16g
- Sodium: 90mg
- Fat: 12g
- Saturated Fat: 7g
- Unsaturated Fat: 4g
- Trans Fat: 0g
- Carbohydrates: 33g
- Fiber: 3g
- Protein: 2g
- Cholesterol: 35mg
Keywords: apple crisp bars, fall dessert, apple bars, oat crust, easy apple dessert, cinnamon apple bars, baked apple bars